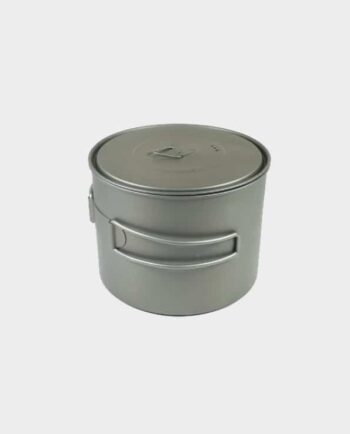
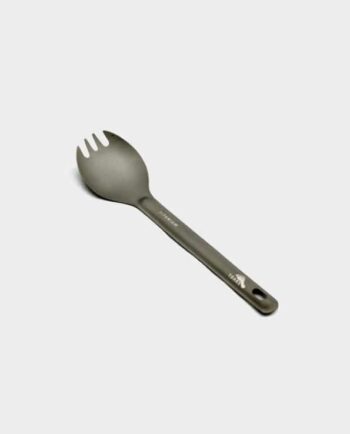
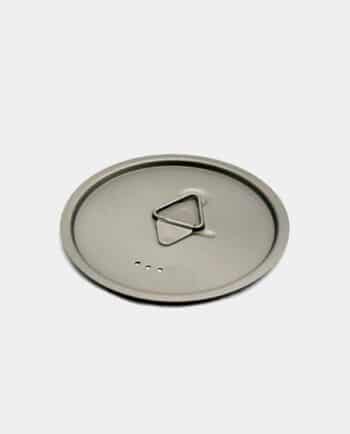
9€El precio original era: 9€.8€El precio actual es: 8€.
Acaba en…
Common Questions
For ultralight outdoor cooking, pot volume mainly depends on how many people you cook for and whether you only boil water or actually cook meals.
Quick capacity guide
550–650 ml: 1 person if you mostly boil water (freeze-dried meals, coffee, soups).
750–900 ml: 1 person cooking real meals (pasta/rice) or 2 people sharing something simple.
1–1.3 L: 2 people regularly sharing a cook system.
Practical tip: don’t fill to the brim; leave a little headroom for stirring and to prevent boil-overs.
In UL, aim for the smallest volume that reliably works for your routine—avoid “just in case” capacity. Learn more: if you’re between sizes, decide based on your typical menu and whether you’ll share a stove.
It mainly depends on how you cook on the trail. Both work, but they differ in fuel efficiency and cooking results. Titanium is very durable and resistant to dents/corrosion, but it’s not always lighter than a comparable good anodized-aluminum pot. Aluminum conducts heat better, so it’s usually easier for real cooking.
Choose based on your use
Boil-only meals: titanium is often a great, no-fuss choice.
Actual cooking (sauces, rice, fewer hot spots): aluminum for more even heating and control.
Fuel efficiency focus: aluminum often helps.
Max durability and low worry: titanium.
Learn more: consider your stove type, pot size, and whether you’ll use a lid/windscreen.
An integrated system (Jetboil-style) prioritizes speed and convenience for boiling water. A modular setup (stove + pot/mug + windscreen) is usually more adaptable for ultralight outdoor cooking.
Choose an integrated system if…
You mainly rehydrate meals and make hot drinks (boiling, not cooking).
You want fast setup and reliable performance in moderate wind.
Choose a modular setup if…
You want more versatility to actually cook, tune packed volume, and optimize the kit.
You prefer swapping parts (pot, stove, windscreen) depending on trip and group size.
Learn more: check stoves, pots/mugs, and windscreens in our Cooking category to build your kit.
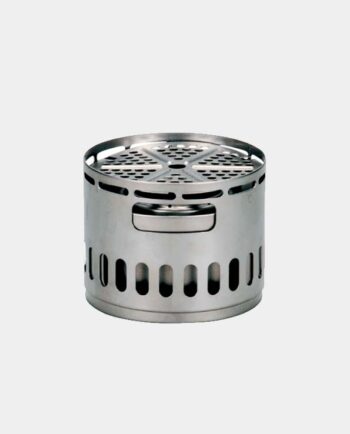
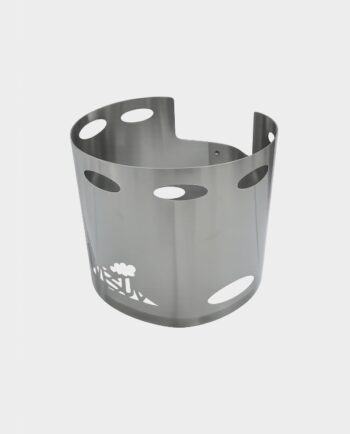
For lightweight outdoor cooking, a windscreen is usually worth it: it boosts efficiency in breezy conditions, helps you use less fuel, and shortens boil times.
When to use it (and when you can skip it)
Highly recommended for windy camps, exposed areas (mountains, coast), or small stoves and light pots (e.g., titanium).
Optional if you cook in a sheltered spot with little wind: the benefit is smaller and may not justify the extra item.
Safety note: with canister stoves, choose a ventilated/partial windscreen and keep clearance to avoid overheating the canister.
It depends on how you cook on the go and the conditions you expect. For lightweight outdoor cooking, the goal is balancing flame control, convenience, and fuel availability.
Choose gas if…
You want faster boils and better flame control (not just boiling water).
You expect wind/cold or variable weather and want a more forgiving setup.
You’re cooking for 2+ people or doing multiple boils per day.
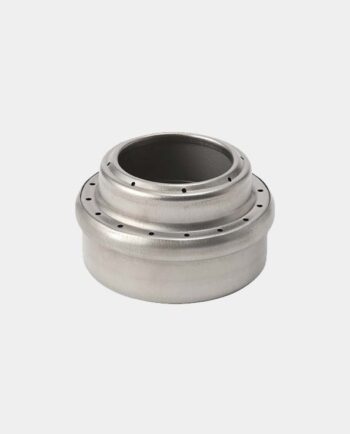
Choose alcohol if…
Your meals are mostly “boil and eat” (coffee, freeze-dried, noodles) and you value simplicity.
You’re in 3-season conditions and can use a windscreen carefully.
Before buying for trekking or bikepacking, check what fuel you can realistically find where you’re going. Learn more: tell us season, area, and group size and we’ll narrow it down.
For a lightweight cooking setup for weekend trips or multi-day routes, a minimal, reliable kit usually works best: a pot sized to your real needs, a gas stove, and simple protection to pack everything cleanly and quietly.
Suggested basic kit
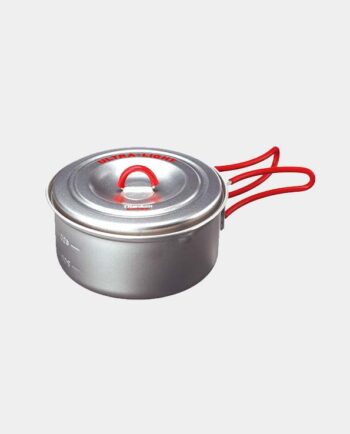
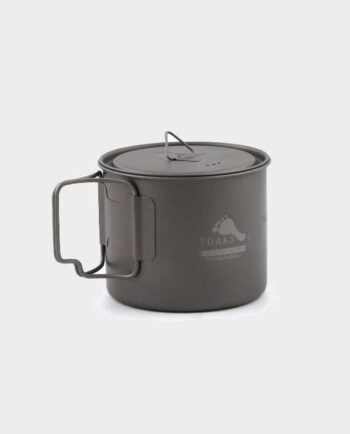
Pot + lid: choose volume based on solo vs. two people, and whether you only boil water or actually cook.
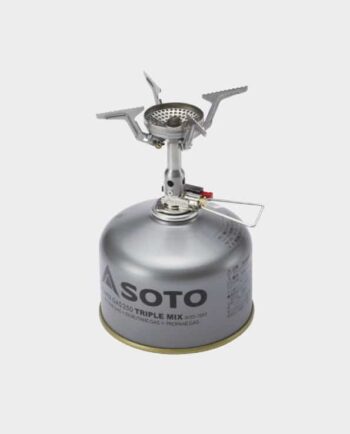
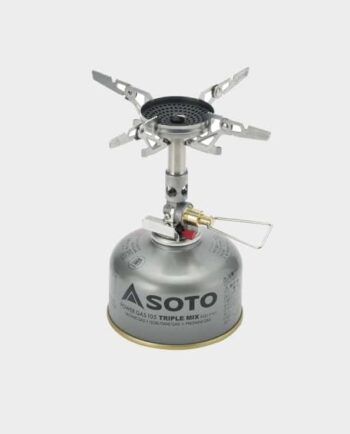
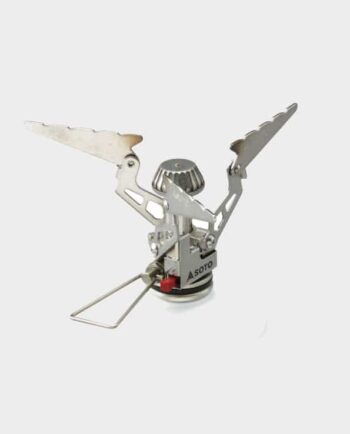
Gas stove: simple and dependable is best; built-in ignition is convenient, but always carry a lighter as backup.
Gas canister: size it for your trip length and meals; avoid cutting it too close.
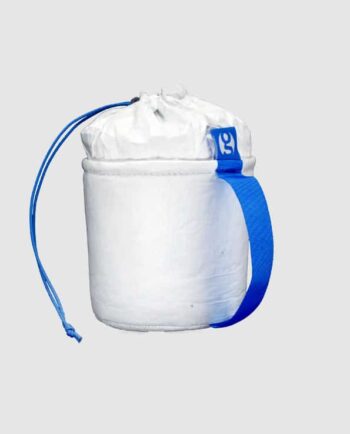
Stuff sack/case: prevents rattling, scratches, and soot getting on your other gear.
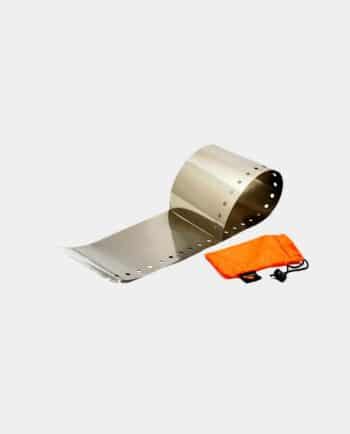
Windscreen: helpful in wind; use carefully to avoid overheating the canister.